Aluminum Pivot Door Installation: Structural Requirements Guide
Aluminum pivot doors are one of the most demanding installations in residential and commercial joinery. They look simple — a single panel rotating on two pins — but a correctly installed pivot door depends on reinforced floor slabs, engineered headers, and millimetre-precise alignment that a standard hinged door never needs. This guide walks contractors, architects, and homeowners through the full structural requirement chain: load calculations, floor and header preparation, pivot hardware installation, sealing, alignment, and post-installation testing.
Quick Answer: A Pivot Door Is an Engineering Project, Not a DIY Task
A large aluminum pivot door can weigh 150–500 kg. All of that weight is transferred through two pivot pins — a bottom pin carrying the majority of the vertical load and a top pin guiding rotation — directly into the floor slab and the header beam. Before any frame is delivered to site, three structural conditions must be confirmed:
- The floor slab must carry concentrated point loads at the bottom pivot location, typically 2–4 times the panel's dead weight when dynamic forces are included.
- The header must be a rigid steel or reinforced concrete beam capable of holding the top pivot guide without measurable deflection under door movement.
- Both pins must share a common vertical axis within ±1 mm tolerance, or the door will bind, scrape, and prematurely wear its bearings.
Rule of thumb: if the opening is a framed timber stud wall or a non-structural partition, it cannot support a pivot door. Plan for concrete reinforcement at the floor and a steel header before you place the order. Most installation failures trace back to the structure, not the hardware.
Structural Assessment: What Your Floor and Header Must Handle
Load path: from panel to foundation
Understanding the load path is the first step in a structural assessment. The panel's weight is transferred through the pivot hardware to the floor plate, then into the concrete slab and sub-base. The top pin does not carry vertical weight in most systems — it acts as a guide that keeps the door from falling outward and controls the axis of rotation. This arrangement means two independent structural members matter: the floor at the bottom pivot point and the header at the top pivot point.
Dead weight and dynamic load calculations
Engineers typically calculate the design load as the panel dead weight multiplied by a dynamic factor. A 300 kg door with a dynamic factor of 1.5–2.0 places 450–600 kg of instantaneous load on the floor plate whenever the door is pushed open, closed quickly, or subjected to wind suction. The floor structure should be designed for at least 2.5× the panel weight as a concentrated point load, and wind-load analysis should be added for external doors in exposed locations.
Deflection limits you cannot ignore
Deflection is the silent killer of pivot doors. A header that flexes 3–5 mm under load pushes the top pivot guide off-axis; the door then sags, scrapes the floor, and the bottom bearing wears unevenly. Accepted limits are:
- Header deflection: L/500 of the clear span, and in no case more than 3 mm for a single-leaf pivot door.
- Floor deflection: zero visible movement under the bottom pivot plate; floor slab should be a minimum of 150–200 mm thick at the pivot location unless an engineer approves otherwise.
Designer note: Landran Door supplies a pre-hung pivot system with pre-calibrated hardware and publishes the exact floor-plate and header-reaction loads for each door size, so the structural engineer can verify the opening design against documented values instead of guessing.
Wind load and seismic considerations
External pivot doors in exposed or high-rise locations must also be checked against wind pressure. A large single leaf can act like a sail: a 2.5 m × 3 m panel in a 40 m/s gust experiences several hundred kilograms of lateral force, all of which is reacted at the top and bottom pivot points. The engineer should apply the local wind code (for example EN 1991-1-4 in Europe or ASCE 7 in North America) and check that the pivot hardware load class, the header connection, and the floor plate anchorage all carry the resulting reactions. In seismic regions, the door leaf should additionally be fitted with a floor-mounted or jamb-mounted restraint that prevents the leaf from swinging unchecked during an event, and the floor plate anchors should be specified for the seismic design category of the building.
Who should carry out the structural assessment?
A registered structural engineer, or a qualified facade engineer, should sign off the opening before the door is ordered. The assessment covers four deliverables: a point-load verification of the slab at the bottom pivot, a header sizing calculation with deflection check, a fixing specification for the frame and pivot brackets, and a wind/seismic load note where applicable. If the door is being installed into a new-build opening, ask the architect to include these checks in the structural package; for retrofit projects, budget for a site survey with a concrete scanner to confirm slab thickness and reinforcement at the pivot position before anything is cut.
Floor Preparation for the Bottom Pivot Pin
The bottom pivot pin carries the vertical weight and defines the rotation axis, so floor preparation is the most critical part of the whole installation. It cannot be corrected after the concrete has cured.
Concrete reinforcement at the pivot point
At the planned bottom pivot position, the slab must be locally thickened and reinforced. For a typical residential installation, the engineer should specify a local slab thickening to 200–250 mm with an additional steel mesh or rebar mat directly beneath the pivot plate. This prevents the plate from punching through the slab under concentrated load. Never install a pivot floor plate directly on a floating screed or a thin topping slab.
Steel plate embedment
Most pivot systems use a recessed steel floor plate or anchor pockets that must be set into the slab before the final floor finish is applied. The embedment procedure:
- Mark the exact pivot position from the approved drawings — usually at one-third of the door width from the jamb, but always from the manufacturer's template.
- Cut a recess to the specified depth, leaving the top of the plate flush with the finished floor level.
- Bed the plate in a high-strength non-shrink grout or epoxy anchor compound, and fix it with the specified anchor bolts while the grout is wet.
- Allow full cure time before any load is applied; typically 24–48 hours depending on the grout specification.
Pin receptacle installation and tolerances
The bottom pin receptacle must be installed with the pin axis vertical within ±0.5 mm across its embedment depth. Check it with a two-axis level after the grout has cured. The top of the receptacle should sit flush with or slightly below the finished floor so that the door bottom seal can work correctly. Any proud metal will obstruct the drop-down seal and damage the door bottom.
Common floor prep mistakes to avoid
- Installing on underfloor heating zones: pipe runs directly beneath the pivot point can be crushed by the point load. Reroute or protect pipes, and document the final position.
- Embedding the plate in green concrete: the plate must be set with anchors torqued to spec and the grout fully cured; torqueing into uncured material guarantees a loose plate within weeks.
- Relying on adhesive alone: some lightweight plates are sold with a "bonding only" claim. For anything above 150 kg of panel weight, specify mechanical anchors in addition to the structural adhesive.
- Forgetting service access: if the pin bearing is serviceable from below, provide a removable access cover in the floor; otherwise schedule bearing replacement access from the door side.
Header Preparation for the Top Pivot Pin
Choosing the header member
The top pivot guide is mounted to the header above the opening. The header must be a rigid member — typically a steel channel, box section, or a reinforced concrete beam — spanning the full opening width with the deflection limits given earlier. For openings wider than 3 m, the engineer should verify the header size rather than relying on standard timber lintels.
Mounting the top pivot pin guide
The top guide bracket is fixed to the header with structural screws or bolts sized to the door's load class. The critical detail is that the top guide must be positioned so that its centre axis coincides with the bottom pin axis. With the floor plate installed, drop a plumb bob or use a laser plumb from the header position to the floor receptacle: the deviation must be within ±1 mm. This check is done before the door panel is hung, and it should be repeated after the panel is installed to catch any header movement.
Alignment tolerance at a glance: bottom pin verticality ±0.5 mm · pin-to-pin axis coincidence ±1 mm · header deflection ≤3 mm · finished floor to door bottom gap 8–12 mm (before drop-down seal activation).
Tools and materials checklist for the installation team
Having the right kit on site prevents half-finished work and protects the door from damage during handling. A complete pivot door installation kit includes:
- Alignment tools: a two-axis spirit level, a laser plumb (or plumb bob), a digital inclinometer for panel plumb checks, and a straightedge long enough to span the door width.
- Fixing equipment: an impact driver with the specified anchor torque settings, a torque wrench for pivot bolts, non-shrink grout, shim packs in 1–5 mm steps, and the manufacturer's approved fixings — never substitute generic screws.
- Handling aids: vacuum lifters or a panel trolley for heavy leaves, protective corner pads, and a door prop for temporary support while the frame is being aligned.
- Sealing consumables: the specified gaskets, a drop-down seal test gauge, low-modulus sealant for perimeter joints, and a floor-level straightedge to verify the threshold plane.
- Documentation: the installation manual, the manufacturer's template for pin positions, and a commissioning sheet to record final measurements.
Check that the delivered hardware kit matches the order before starting: pivot pins, bearings, floor plate, top guide, and all bolts should be counted and inspected for transit damage. Landran Door's pre-hung pivot system ships with hardware pre-fitted to the frame, which cuts this check time in half and removes the risk of mismatched components on site.
Pivot Hardware Installation Step-by-Step
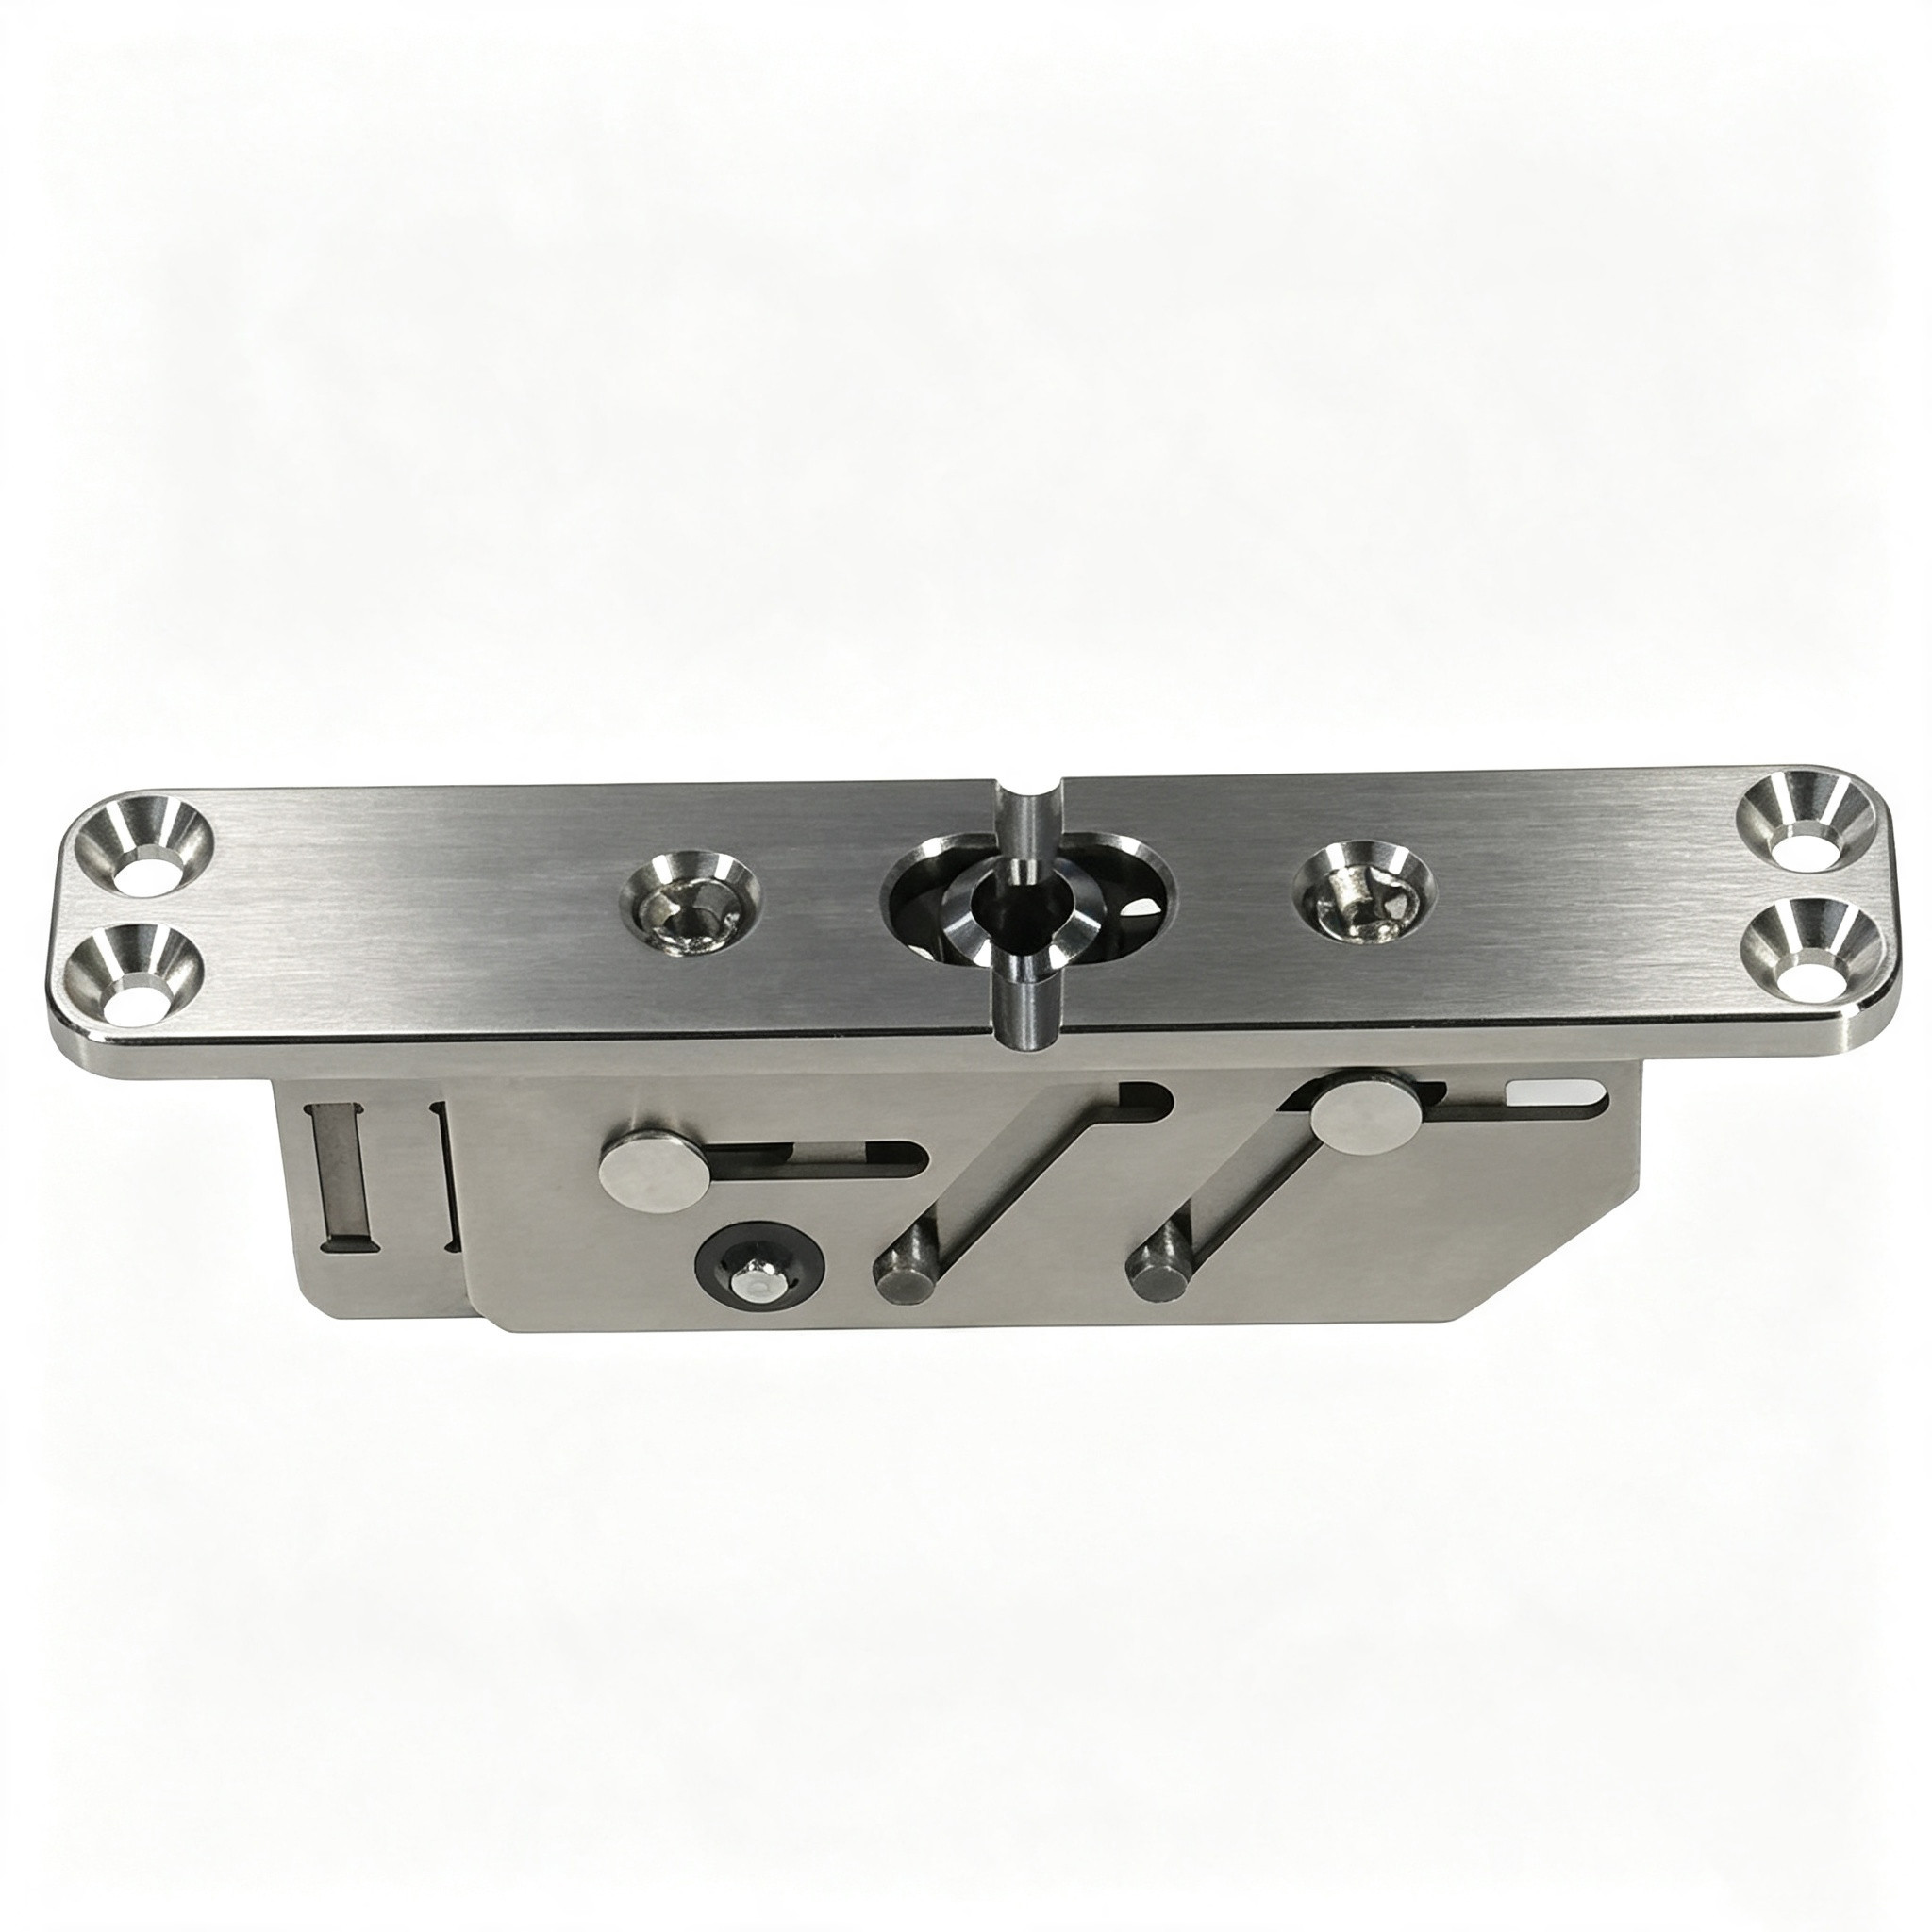
With the structure prepared, hardware installation follows a defined sequence. Landran Door's pre-hung pivot system simplifies this stage because the pins, bearings, and frame brackets are factory pre-calibrated — installers align the frame to the pins rather than building the geometry from scratch on site.
- Set the floor plate and pin: confirm the receptacle is clean, insert the bottom pin assembly, and verify verticality with a spirit level in two planes.
- Fit the top guide: mount the top pivot bracket to the header and re-verify axis coincidence with the bottom pin using a laser plumb.
- Place the frame: stand the aluminum frame into the opening, seat it on the bottom pin, and engage the top pin. The frame must be shimmed at the jambs, never forced.
- Fix the frame: secure the frame to the masonry or stud structure with the specified fixings at the hinge side, lock side, and head; the hinge side carries the reaction loads and needs the closest fixing centres.
- Hang the panel: attach the panel to the frame pivots, resting it on the bottom bearing. Never let the panel free-stand on the top pin alone.
- Check the sweep: open and close the door slowly through its full arc, watching for binding, scraping, or drift; make the first fine adjustments before sealing work begins.
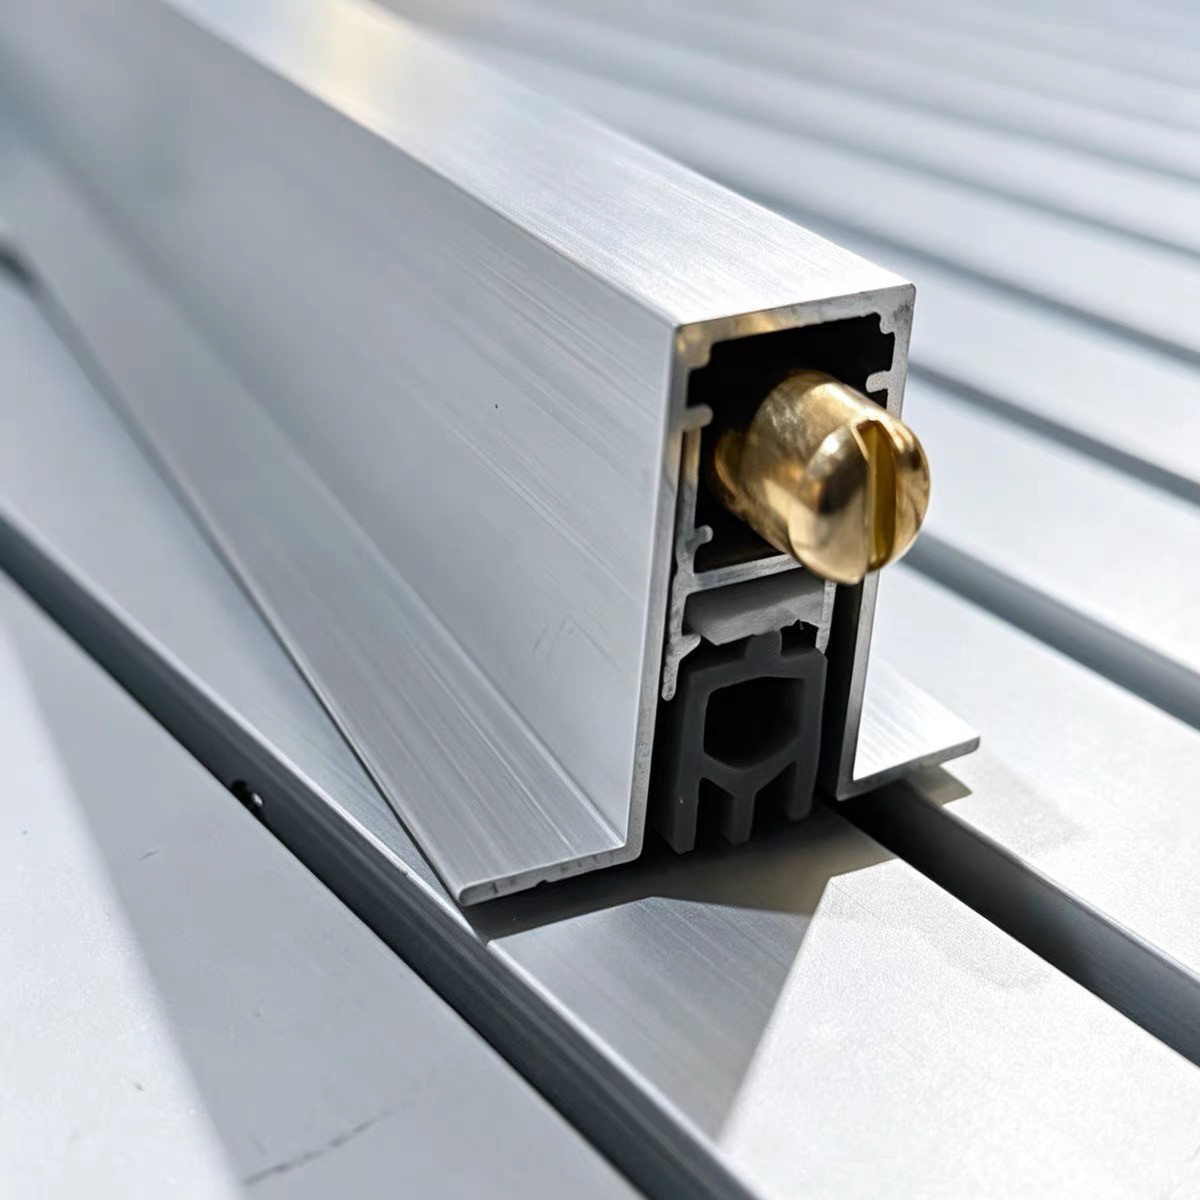
Sealing Systems: Drop-Down Seals and Weather Stripping
A pivot door swings without a conventional hinge jamb, which makes perimeter sealing genuinely difficult. The bottom gap is the biggest problem: because the door rotates on a central axis, a fixed bottom seal would scrape the floor. The industry solution is an automatic drop-down seal — a floor seal that drops when the door is closed and retracts when it opens.
How the drop-down seal works
An automatic door bottom contains a spring-loaded or mechanically actuated seal bar. When the door approaches the closed position, the seal engages with a striker or cam and the bar drops 8–15 mm to press against the floor; when the door opens, the bar retracts clear of the floor. This gives a tight air and water barrier without impeding the swing.
Compression seals and perimeter gaskets
Along the jambs and head, use compression bulb gaskets or magnetic seals rated for the door's performance class. On exterior pivot doors, the threshold should be flush or recessed so the drop-down seal meets a continuous surface — a raised threshold breaks the seal line and causes draughts and water ingress.
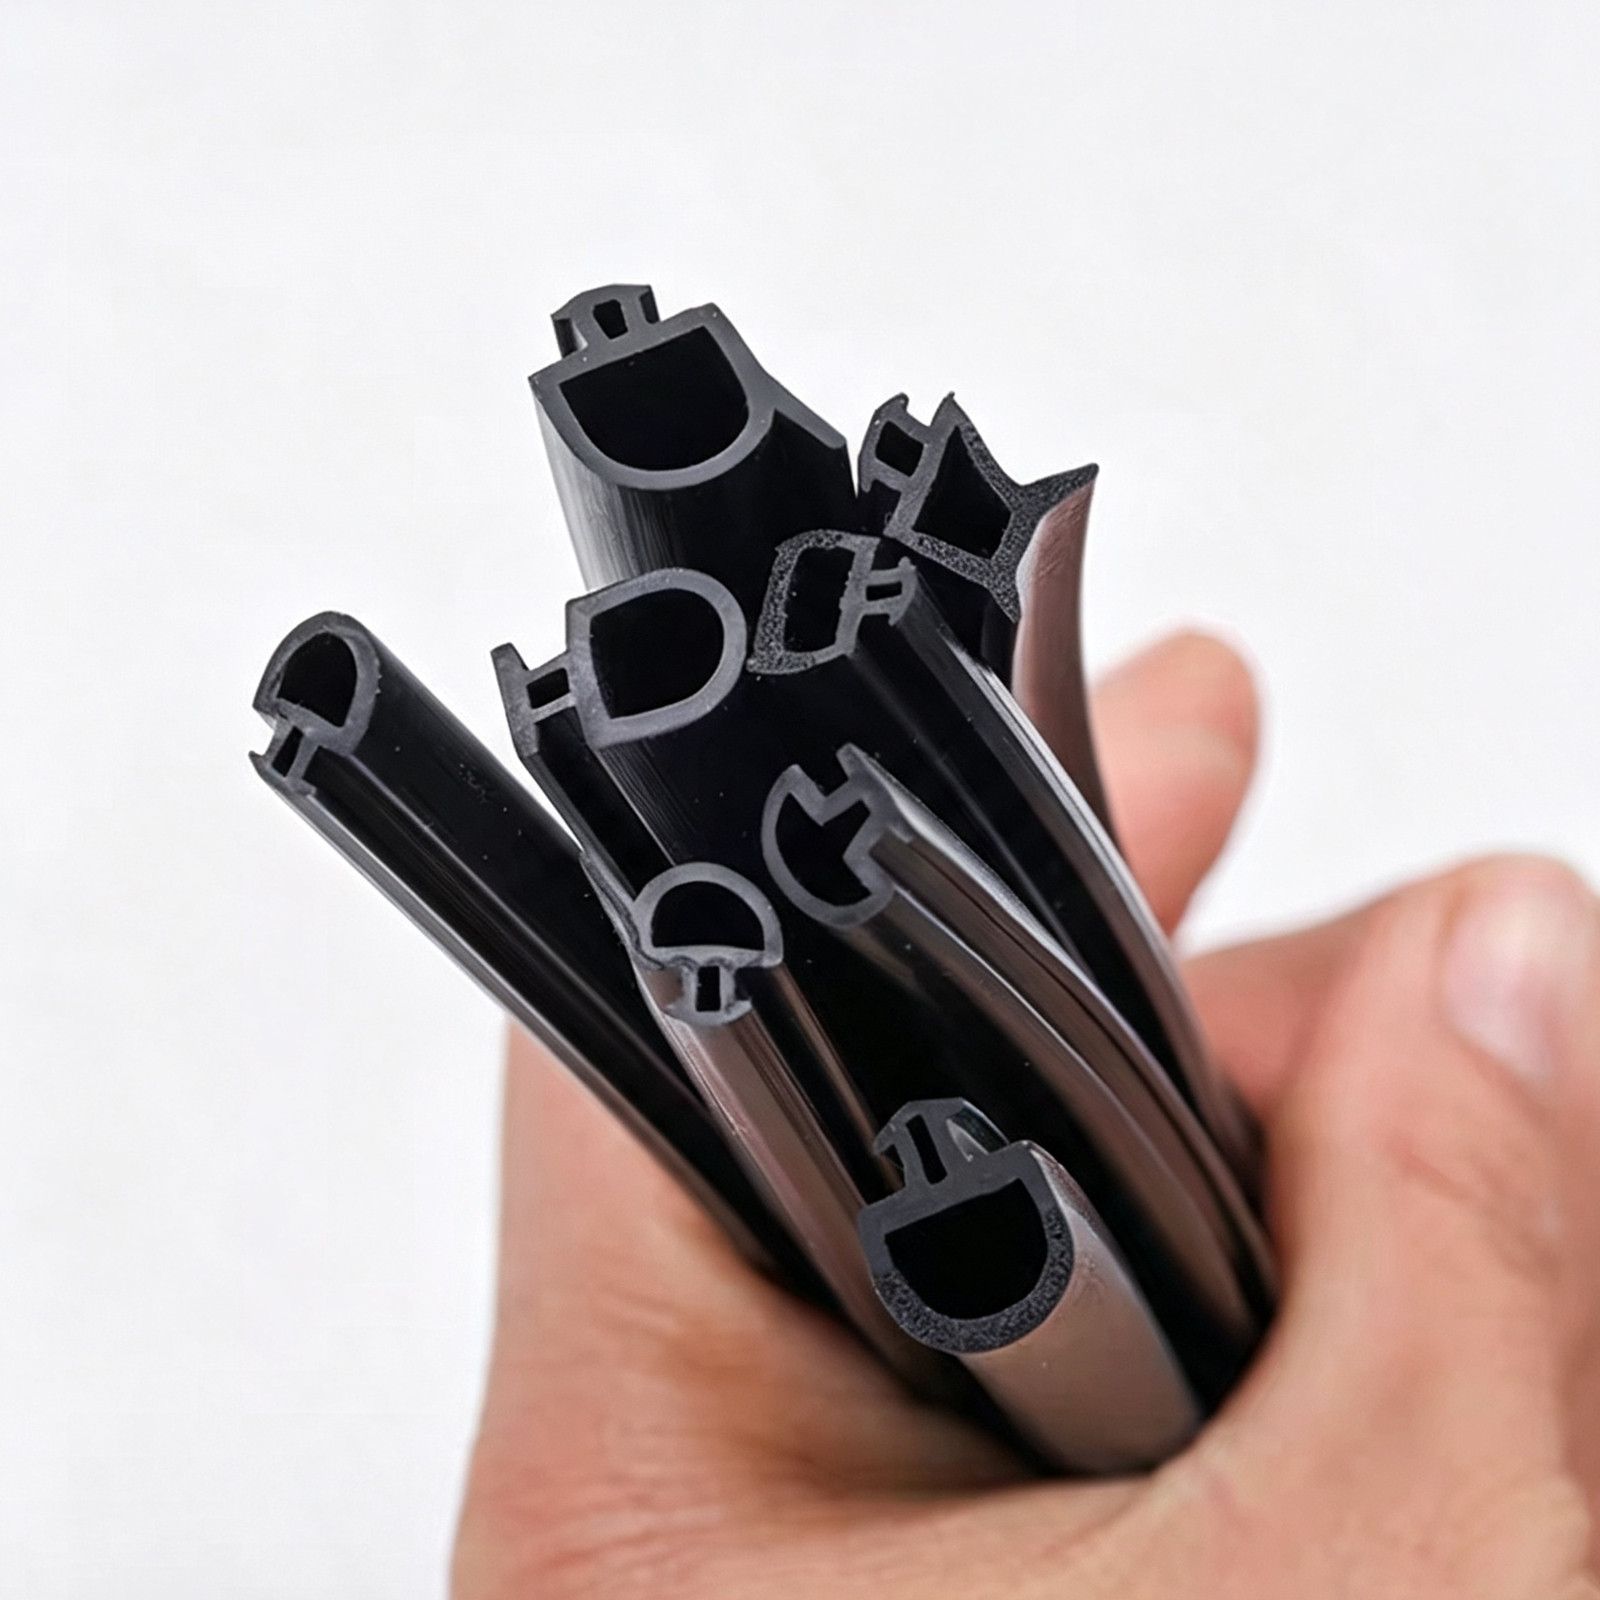
Weather sealing for exterior pivot doors
Exterior pivot doors are exposed to driving rain, wind-driven pressure, and thermal movement, so the sealing strategy needs three layers: a primary weatherline at the gaskets, a drainage plane in the frame that routes any penetrating water back outside, and a vapour seal on the warm side. The frame drainage slots must never be blocked by sealant during installation — a common fault that turns a weathertight design into a leaking one. For high-performance specifications, ask for the door's air permeability, watertightness, and wind resistance class (for example EN 12207 / EN 12208 / EN 12210 ratings) and verify the installed assembly achieves the declared class during testing.
Thermal break and condensation control
In cold climates, the aluminum frame should incorporate a thermal break between the interior and exterior profiles, and the glazing should be specified with warm-edge spacer bars. At the installation stage, make sure the thermal-break zones are not bridged by metal fixings or conductive shims — every bridge creates a cold spot where condensation forms on the interior face. Landran Door's thermally broken pivot profiles include a continuous polyamide break, and the installation instructions specify non-conductive packers at the fixing points to preserve the thermal performance of the assembly.
Landran advantage: Landran Door's pivot systems integrate the drop-down seal as a factory-fitted component with a concealed striker, so the bottom seal geometry is tested at the factory and the site team only needs to verify floor-level clearance and seal drop height during commissioning. This removes the most common on-site sealing failure — a misaligned bottom seal.
Alignment and Adjustment After Installation
Pin height adjustment
Most pivot systems allow vertical adjustment of the bottom pin so the panel can be raised or lowered. Adjust in small increments — typically 1–2 mm per turn — and re-check the bottom gap and seal drop after each adjustment. The panel must sit level across its width when closed.
Panel squareness and gap consistency
Check the panel is square by measuring diagonals; any discrepancy over 2 mm should be corrected at the frame fixing points before the frame is finally locked. The perimeter gap around the door should be consistent within ±1 mm at head and jambs. A door that is tight at the top jamb and loose at the bottom is a classic sign of a non-plumb installation or a deflecting header.
Post-Installation Testing Checklist
Commissioning a pivot door is a checklist exercise. Work through it before the site team leaves:
- Operation force: the door should open and close smoothly with a consistent force; any stiff spot indicates a bearing or alignment fault.
- Air infiltration: close the door and run a hand or a draught detector around the full perimeter; cold spots indicate failed seal contact.
- Water penetration: for exterior doors, hose-test the head, jambs, and threshold, and inspect for leakage at the bottom seal line.
- Lock engagement: operate the lock and any multi-point locking several times; latching must be clean with no forced turns.
- Bearing check: listen for grinding or clicking during the full swing arc; report any noise to the manufacturer immediately.
- Documentation: record the final pin height, gap measurements, and seal drop values in the commissioning report for warranty purposes.
Common Installation Failures and Fixes
| Symptom | Probable cause | Fix |
|---|---|---|
| Door sags or scrapes the floor | Header deflection or bottom pin not vertical | Re-verify pin verticality; stiffen header; adjust pin height |
| Door drifts when half open | Pin axes not coincident | Realign top guide within ±1 mm using laser plumb |
| Draught at the bottom | Drop-down seal not engaging or threshold not continuous | Check seal drop height and striker alignment; level threshold |
| Hard to open / stiff spots | Bearing load or frame twisted | Check frame squareness; re-fix hinge-side fixings; replace bearing if damaged |
| Water ingress at corners | Compression seals compressed unevenly | Re-adjust jamb gaps; replace gaskets with correct durometer |
FAQ: Pivot Door Installation
Can any wall support a pivot door?
No. Only structurally adequate floor slabs and headers can support a pivot door. Timber stud partitions and non-structural walls are not suitable without added steel reinforcement, and the floor at the bottom pivot point must be locally thickened and reinforced.
How much weight does a pivot door put on the floor?
The bottom pivot point receives roughly the full panel weight as a concentrated point load, plus a dynamic factor of 1.5–2.0 when the door is operated. A 300 kg door can therefore impose 450–600 kg instantaneous load on the floor plate. Design the slab for at least 2.5× the panel weight.
What is the maximum width for an aluminum pivot door?
Practical single-leaf widths range from 1.2 m to 3.5 m, and Landran Door manufactures large-format pivot systems up to 3.5 m wide with panel weights of 300–500 kg. Beyond that, double-leaf or multi-panel pivot arrangements are recommended.
Do pivot doors need a threshold?
Not a raised one. The best installation for a pivot door uses a flush or recessed threshold so the drop-down seal can contact a continuous surface across the full door width.
How long does a pivot door installation take?
Once the structure is prepared, hardware and panel installation typically takes one to two days for a single leaf. Structural preparation — slab thickening, steel embedment, header installation — is separate site work that must be completed and cured first.
Can a pivot door be retrofitted into an existing opening?
Yes, but only after a structural survey. The existing floor and header must be reinforced to meet the load and deflection requirements; expect to cut the floor for the pivot plate embedment and to install a steel header above the opening.
What gap should be left between the door bottom and the floor?
Allow 8–12 mm of clearance between the bottom of the door and the finished floor so the panel can swing freely without scraping. The drop-down seal covers this gap when closed; if the gap exceeds 15 mm, the seal stroke may not reach the floor and the perimeter performance will be compromised.
How do you align a pivot door that binds when closing?
Start by checking the pin axes with a laser plumb; binding at the top jamb usually means the top guide has shifted or the header has deflected. Then verify the frame is square by comparing diagonals, and finally adjust the bottom pin height in 1–2 mm increments until the sweep is smooth.
Do pivot doors need regular maintenance of the bottom bearing?
Yes — the bottom bearing is the only heavily loaded wearing component. A lubrication check every 12 months and a full bearing inspection every 3–5 years is reasonable for residential use; high-use commercial entrances may need annual servicing. Never oil the top guide bushings with grease that can attract dust; use the manufacturer's recommended lubricant.
Is a pivot door more expensive to install than a hinged door?
Yes, and the difference is mostly structural work. Hardware costs are comparable, but the floor slab reinforcement, steel header, embedment work, and precision alignment add one to three days of specialist site labour compared with a conventional hinged door installation.
Can automatic operators be fitted to a pivot door?
Yes. Low-energy automatic operators designed for pivot leaves are available for commercial applications, and they integrate with the top or bottom pivot mechanism. The operator must be specified together with the door because it adds lateral loads to the pivot points and changes the header reaction — retrofit operators should always be reviewed by the manufacturer or engineer first.
Closing Summary
Successful aluminum pivot door installation is 70% structure and 30% hardware. Reinforce the floor at the bottom pivot point, engineer the header to the deflection limits, keep both pin axes within ±1 mm, and commission the sealing system properly — and the door will operate smoothly for decades. Landran Door supports this process with pre-hung pivot systems, factory-calibrated hardware, drop-down seal integration, and published engineering data that lets your structural engineer verify the design before a single hole is drilled.
Explore Landran Door pivot door systems or contact our technical team for installation drawings and structural data for your project.